
Here is the long awaited black accent wall office blog!!
Accent walls have really been trending in 2020-21 and I have been loving them!! I was so inspired to create a moody accent wall- so I found lots of inspo pics & created my own design.
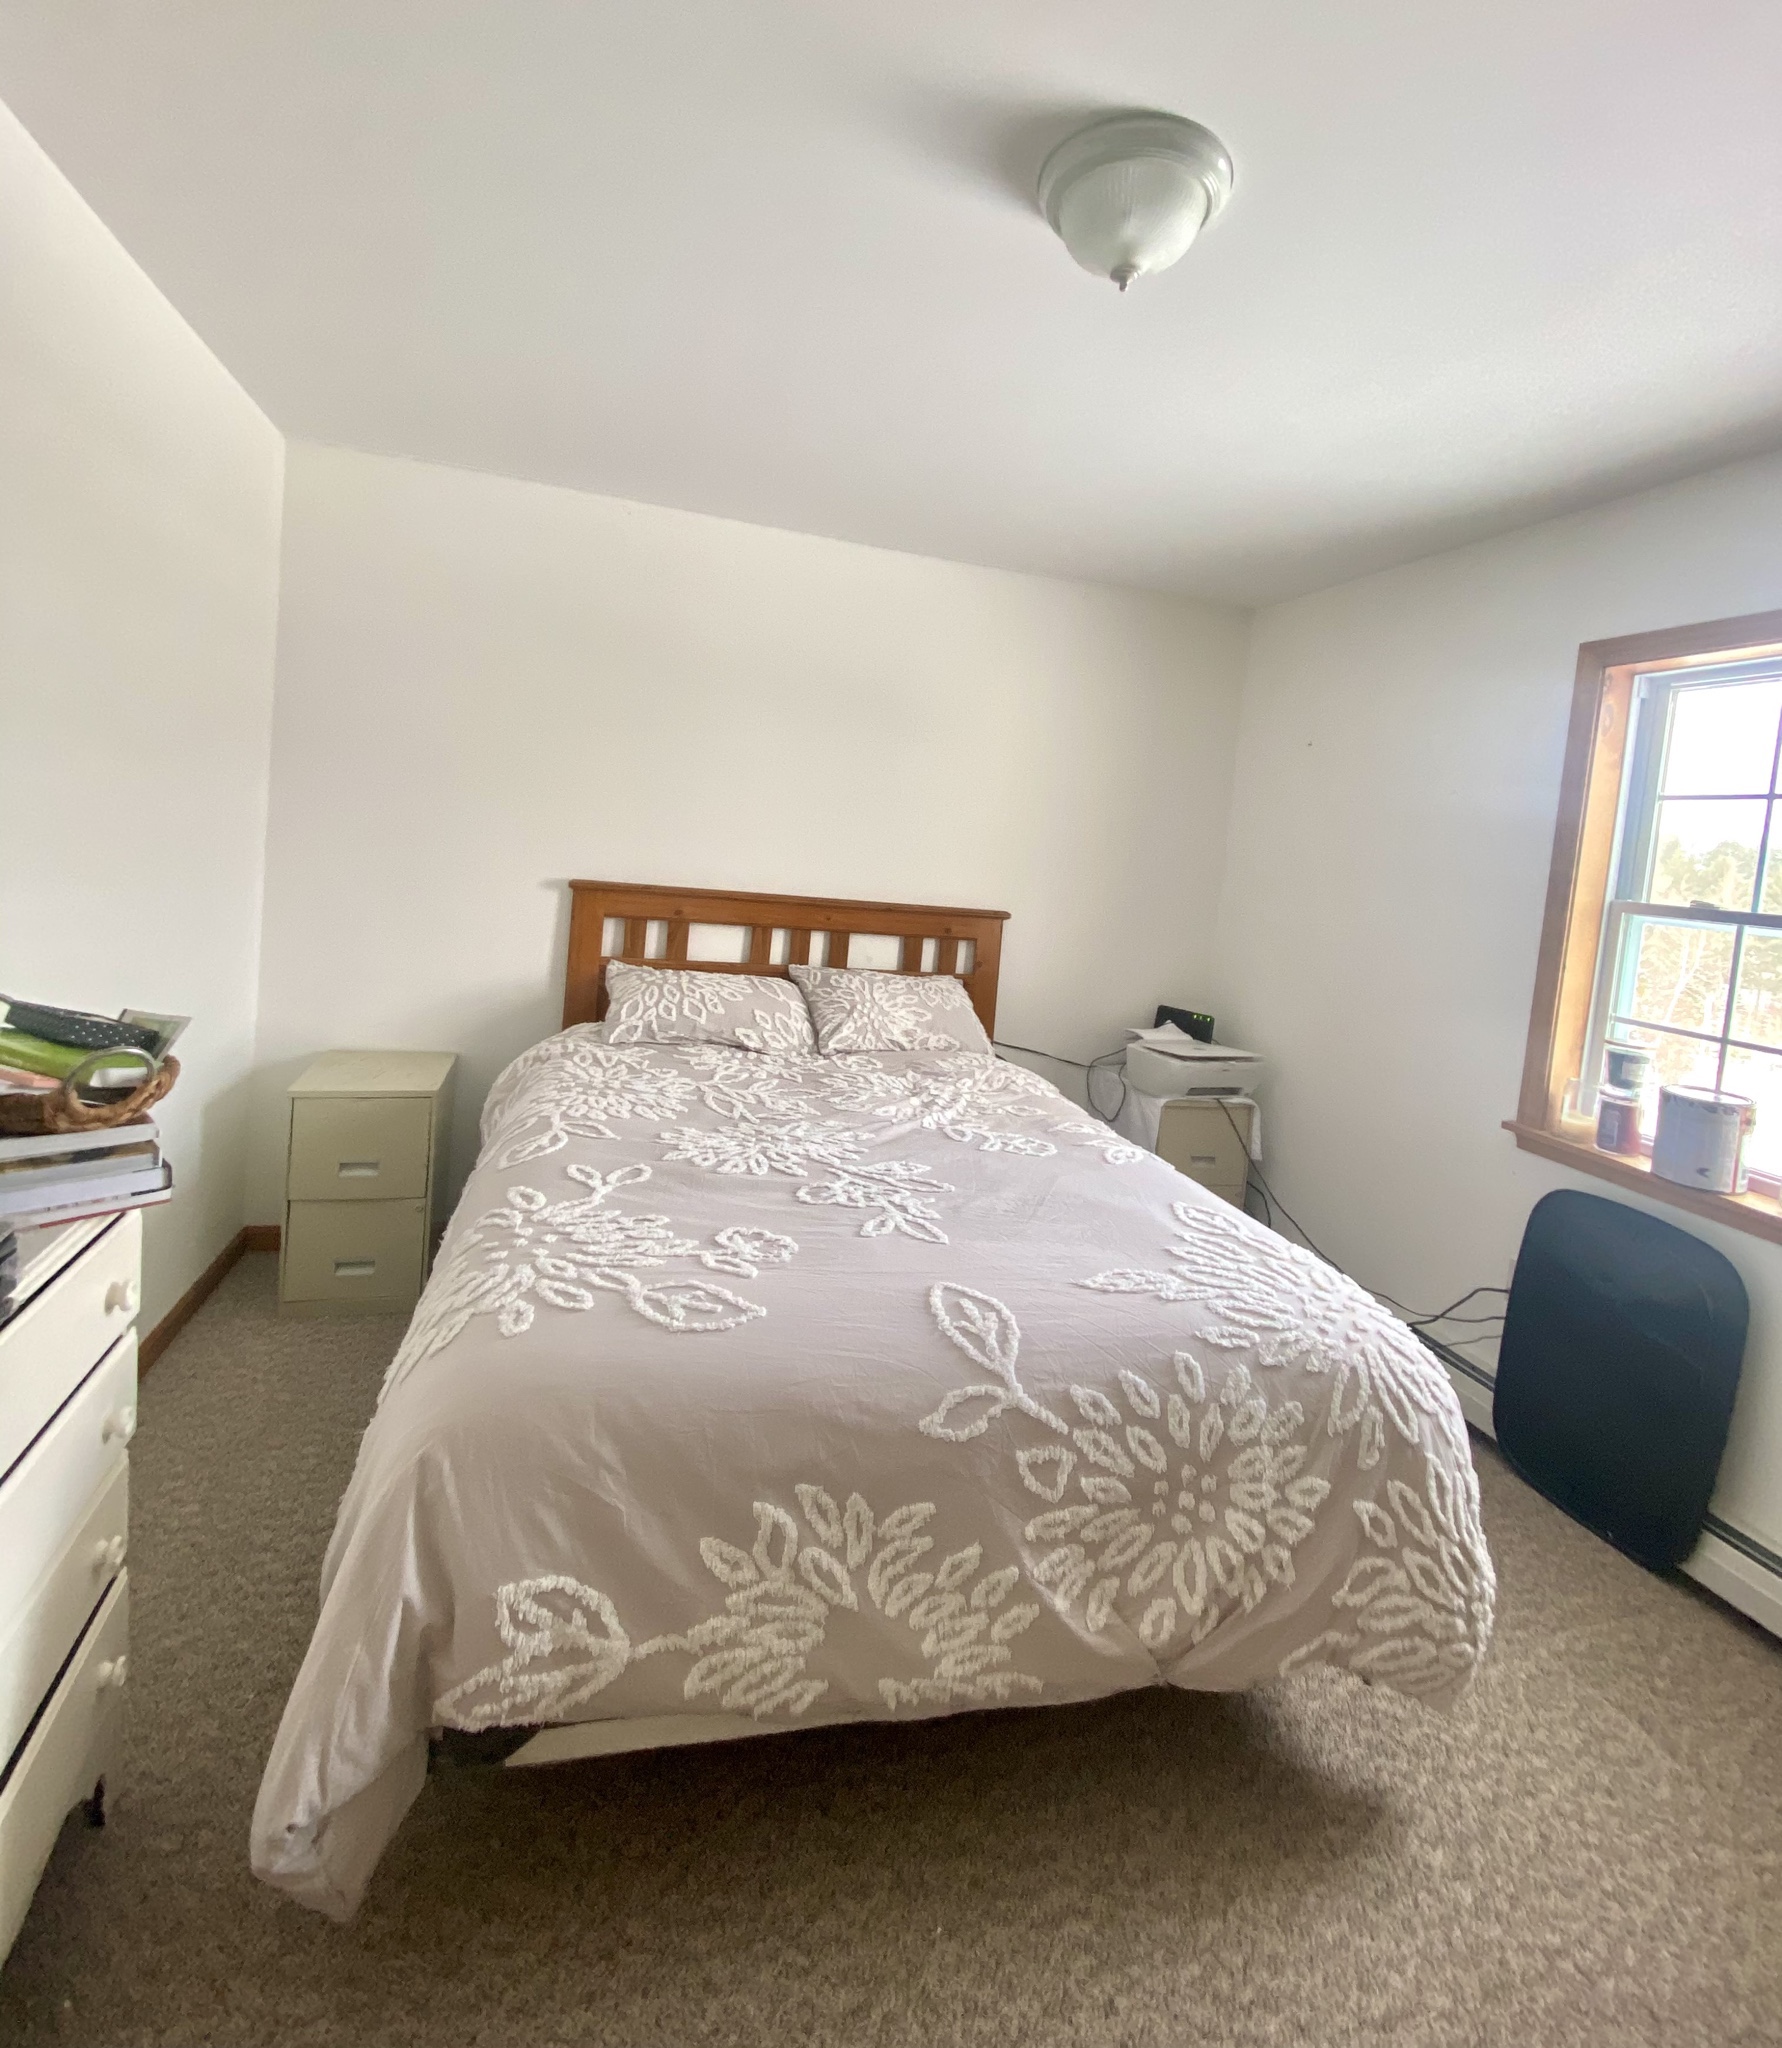
They go by a lot of different names: accent walls, wall treatments, feature wall and others. I looked at a lot of inspiration pictures and projects that people had done & I decided a black moody accent wall would be cool. I found a room in my house that would fit the moody/dark feature wall. I chose a guest bedroom- It worked well because the rest of the walls were bright white & the natural light in the room is great. It is an east facing window so sunrises and morning light are exceptional.
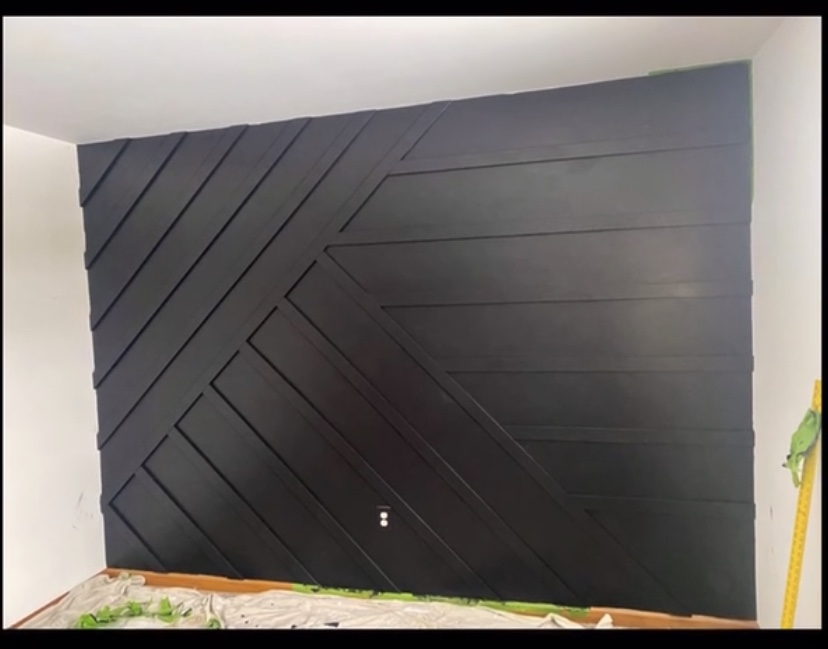
Here is the before:
Project steps!!
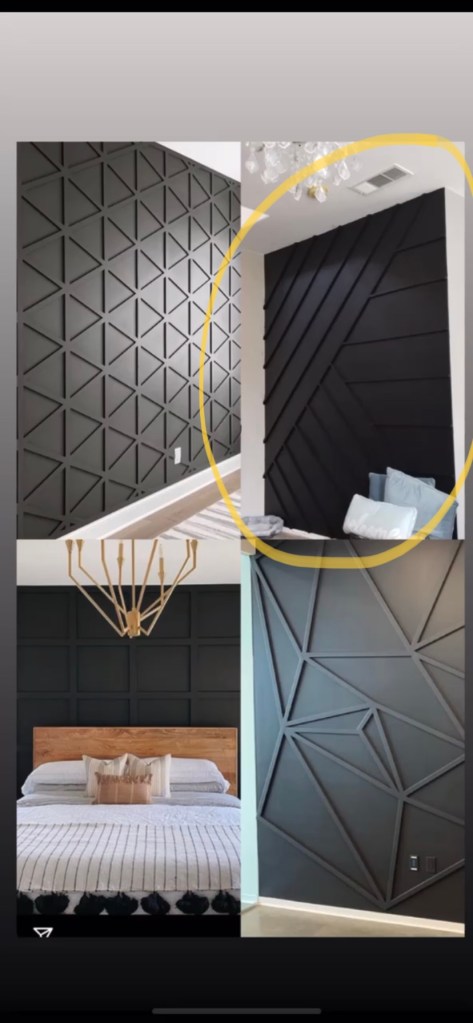
1- First, I found an inspiration picture that I loved . The circled one is what I chose
— I didn’t copy the exact shape/design or MDF placements, but I used it as a great guide.
2- I made a list of products I needed at Lowe’s & list of things I already had.
Lowe’s-
⁃ MDF boards (I bought white primed 2.5 inch x 8 ft long boards) I believe we used about 15 but bought 20.
⁃ 8 boards 2x4x10 to make the desk top
Already had-
⁃ SW Black paint
⁃ Painters tape— I use the green “frog tape” it truly doesn’t rip the paint off
⁃ Brad nailer we use an air compressor attatchment which works well!!
⁃ Step ladder
⁃ Measuring tape
⁃ Level (importanttttt!!!)
⁃ Stud finder
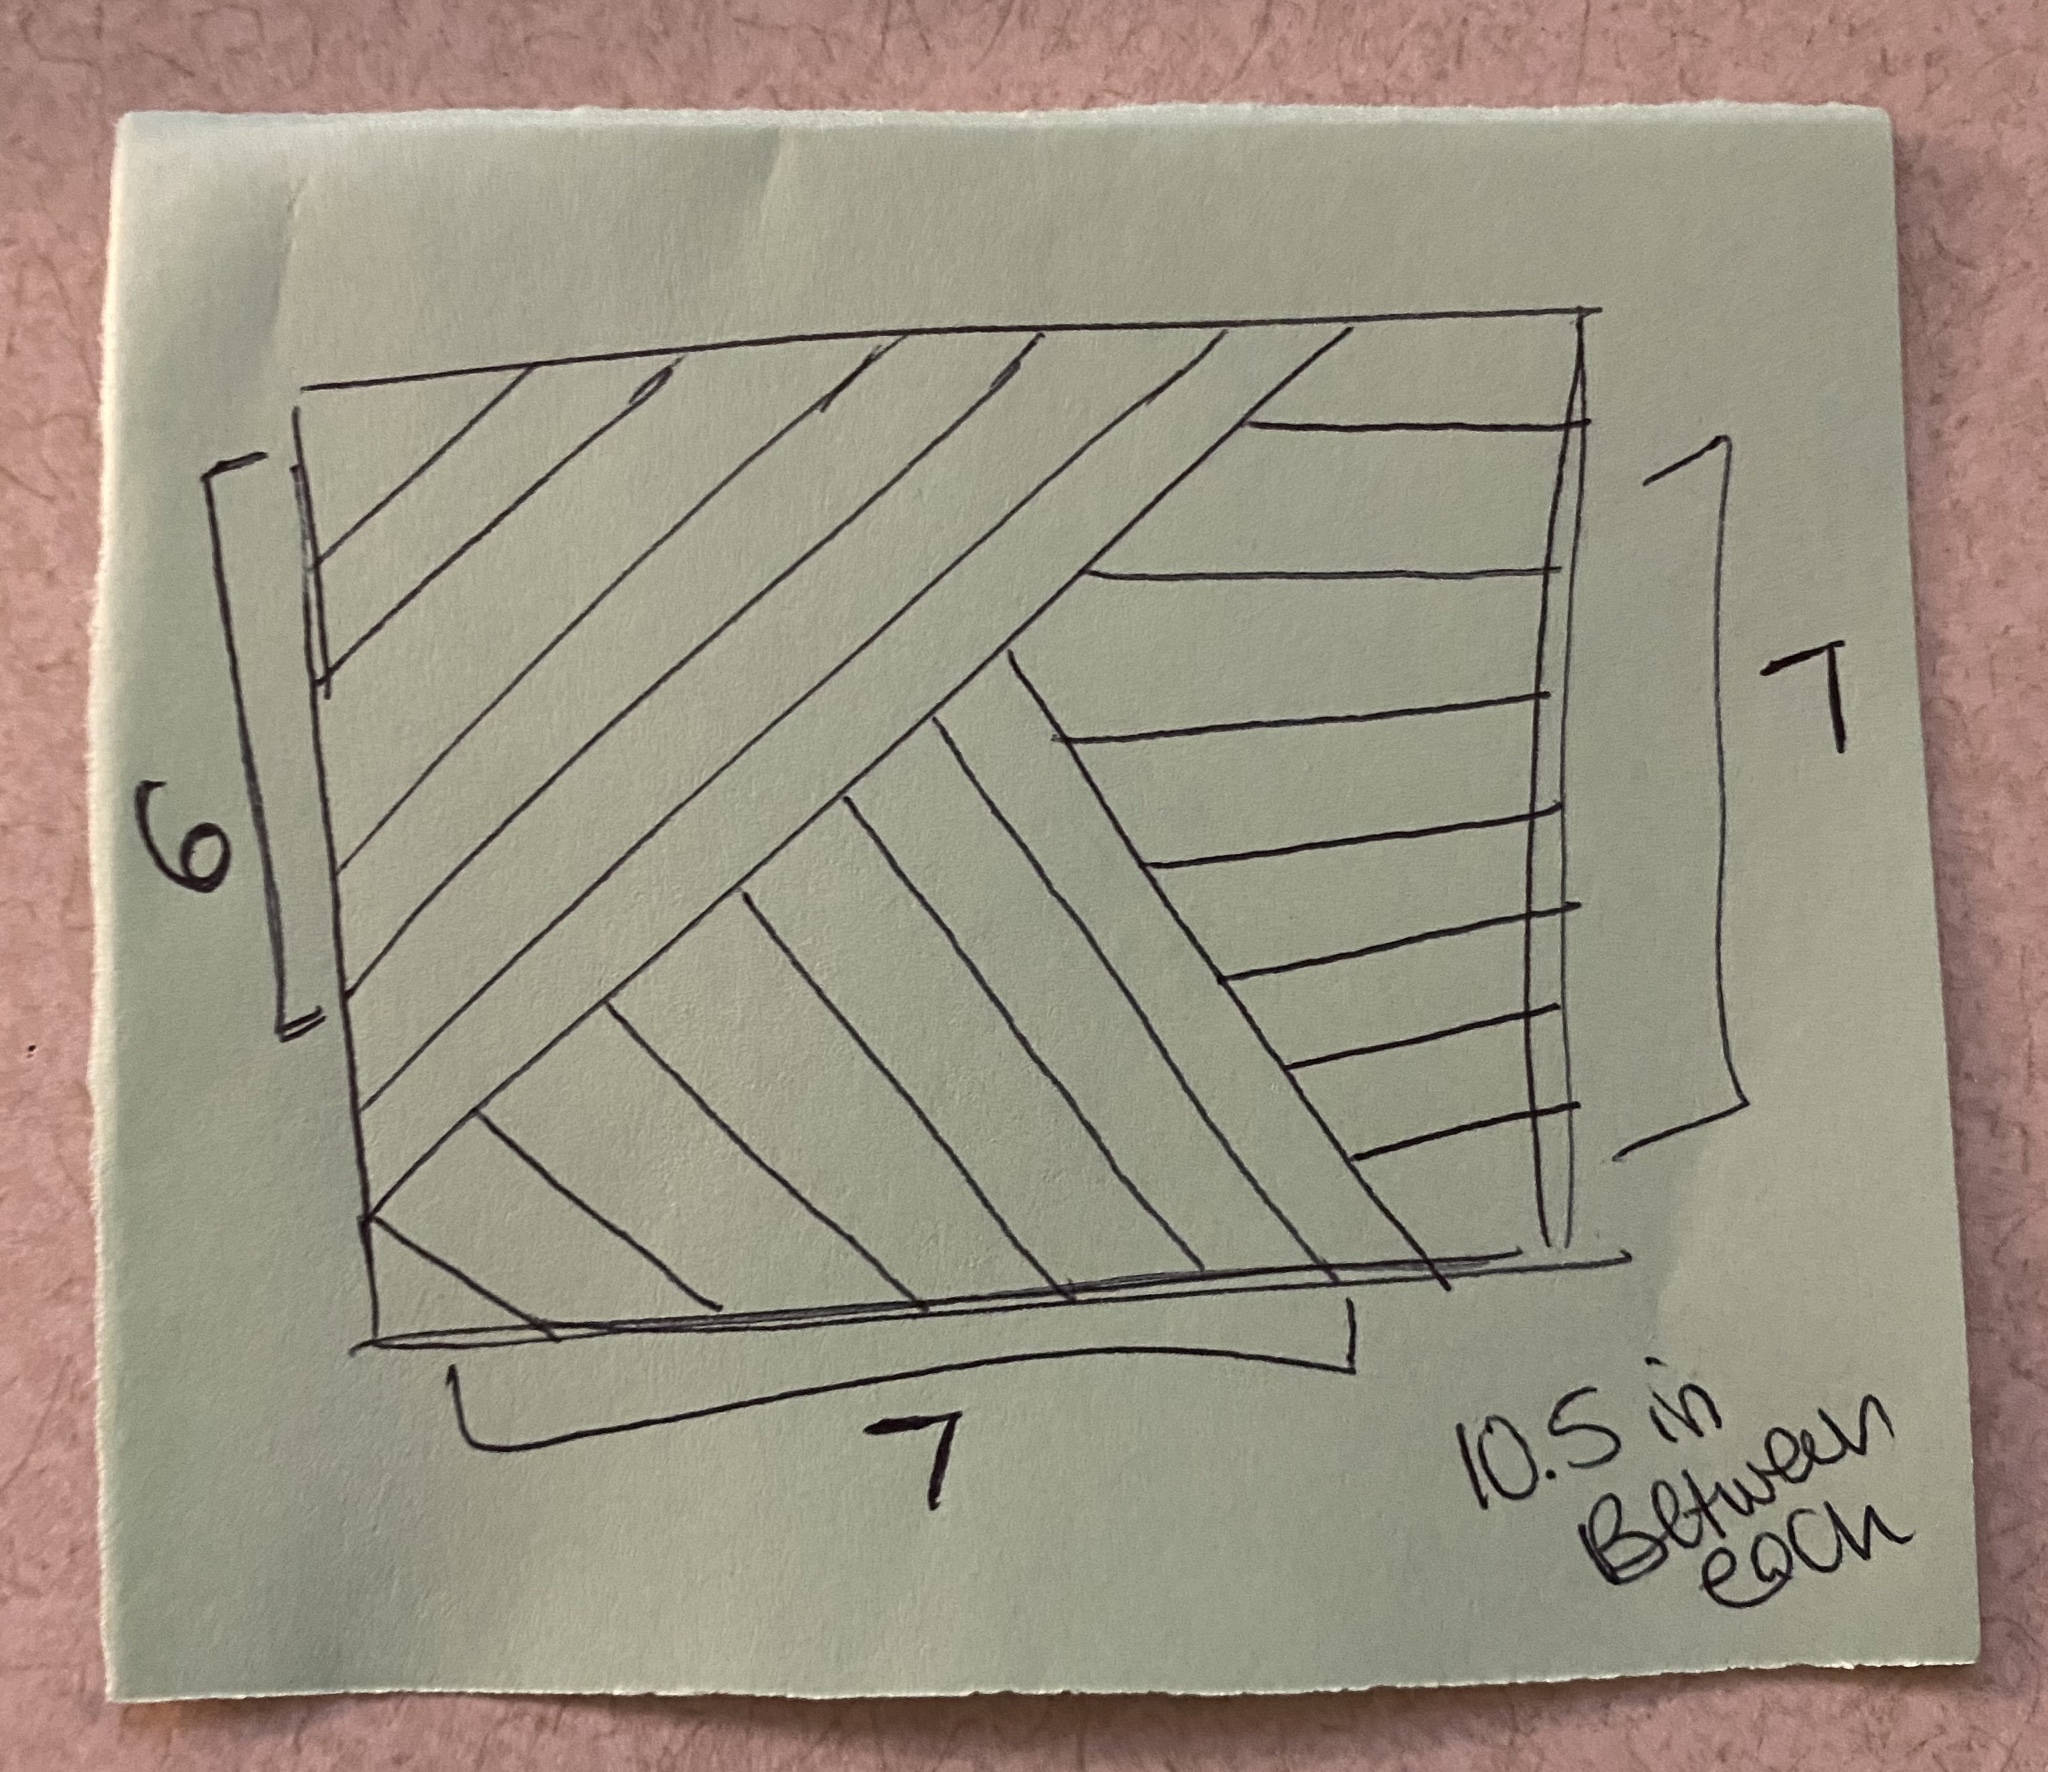
3- I decided on my layout I will add the drawing here. For The room is 8ft tall by 11ft long.
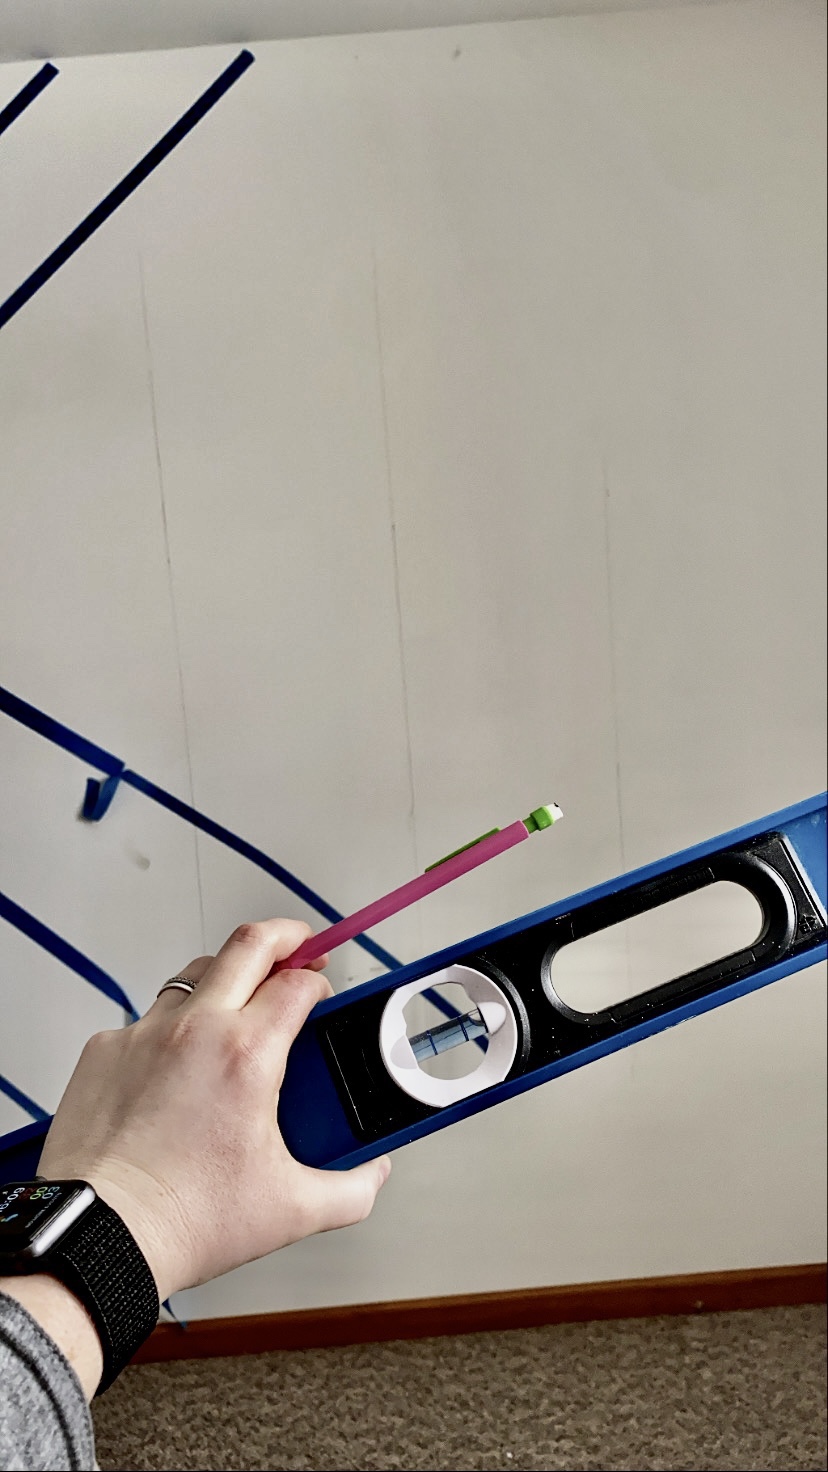
4- We then marked the studs with pencil (drew lines all the way down the wall from ceiling to floor to make sure to put the brad nails into the studs.
5- Then Split it into three sections- each with a diff angle.
First section we added 6 diagonally left to right upward
Second 7 boards – downward leg to right
Third is 7 board -straight/ horizontal
6- So we went section by section— 45 degree angle for the wall cuts. Measured 10.5 inches in between every board and started from the top left hand corner. The measurements went a tiny bit funky as we went down , but on average they are each 10.5 inches apart. Used a measuring tape to mark 10.5 down from each board. Used a level to draw the line. Was very helpful to have two people drawing the line and making sure the measurement was the perfect length so the cut was flush against the ceiling and the wall.

7- I painted the first section of Mdf boards black before we hung them. Then I found it was more time consuming so we just cut them all and used the brad nailer on the studs which we pre lined with pencil before we started.
8- used the Sherwin Williams in satin

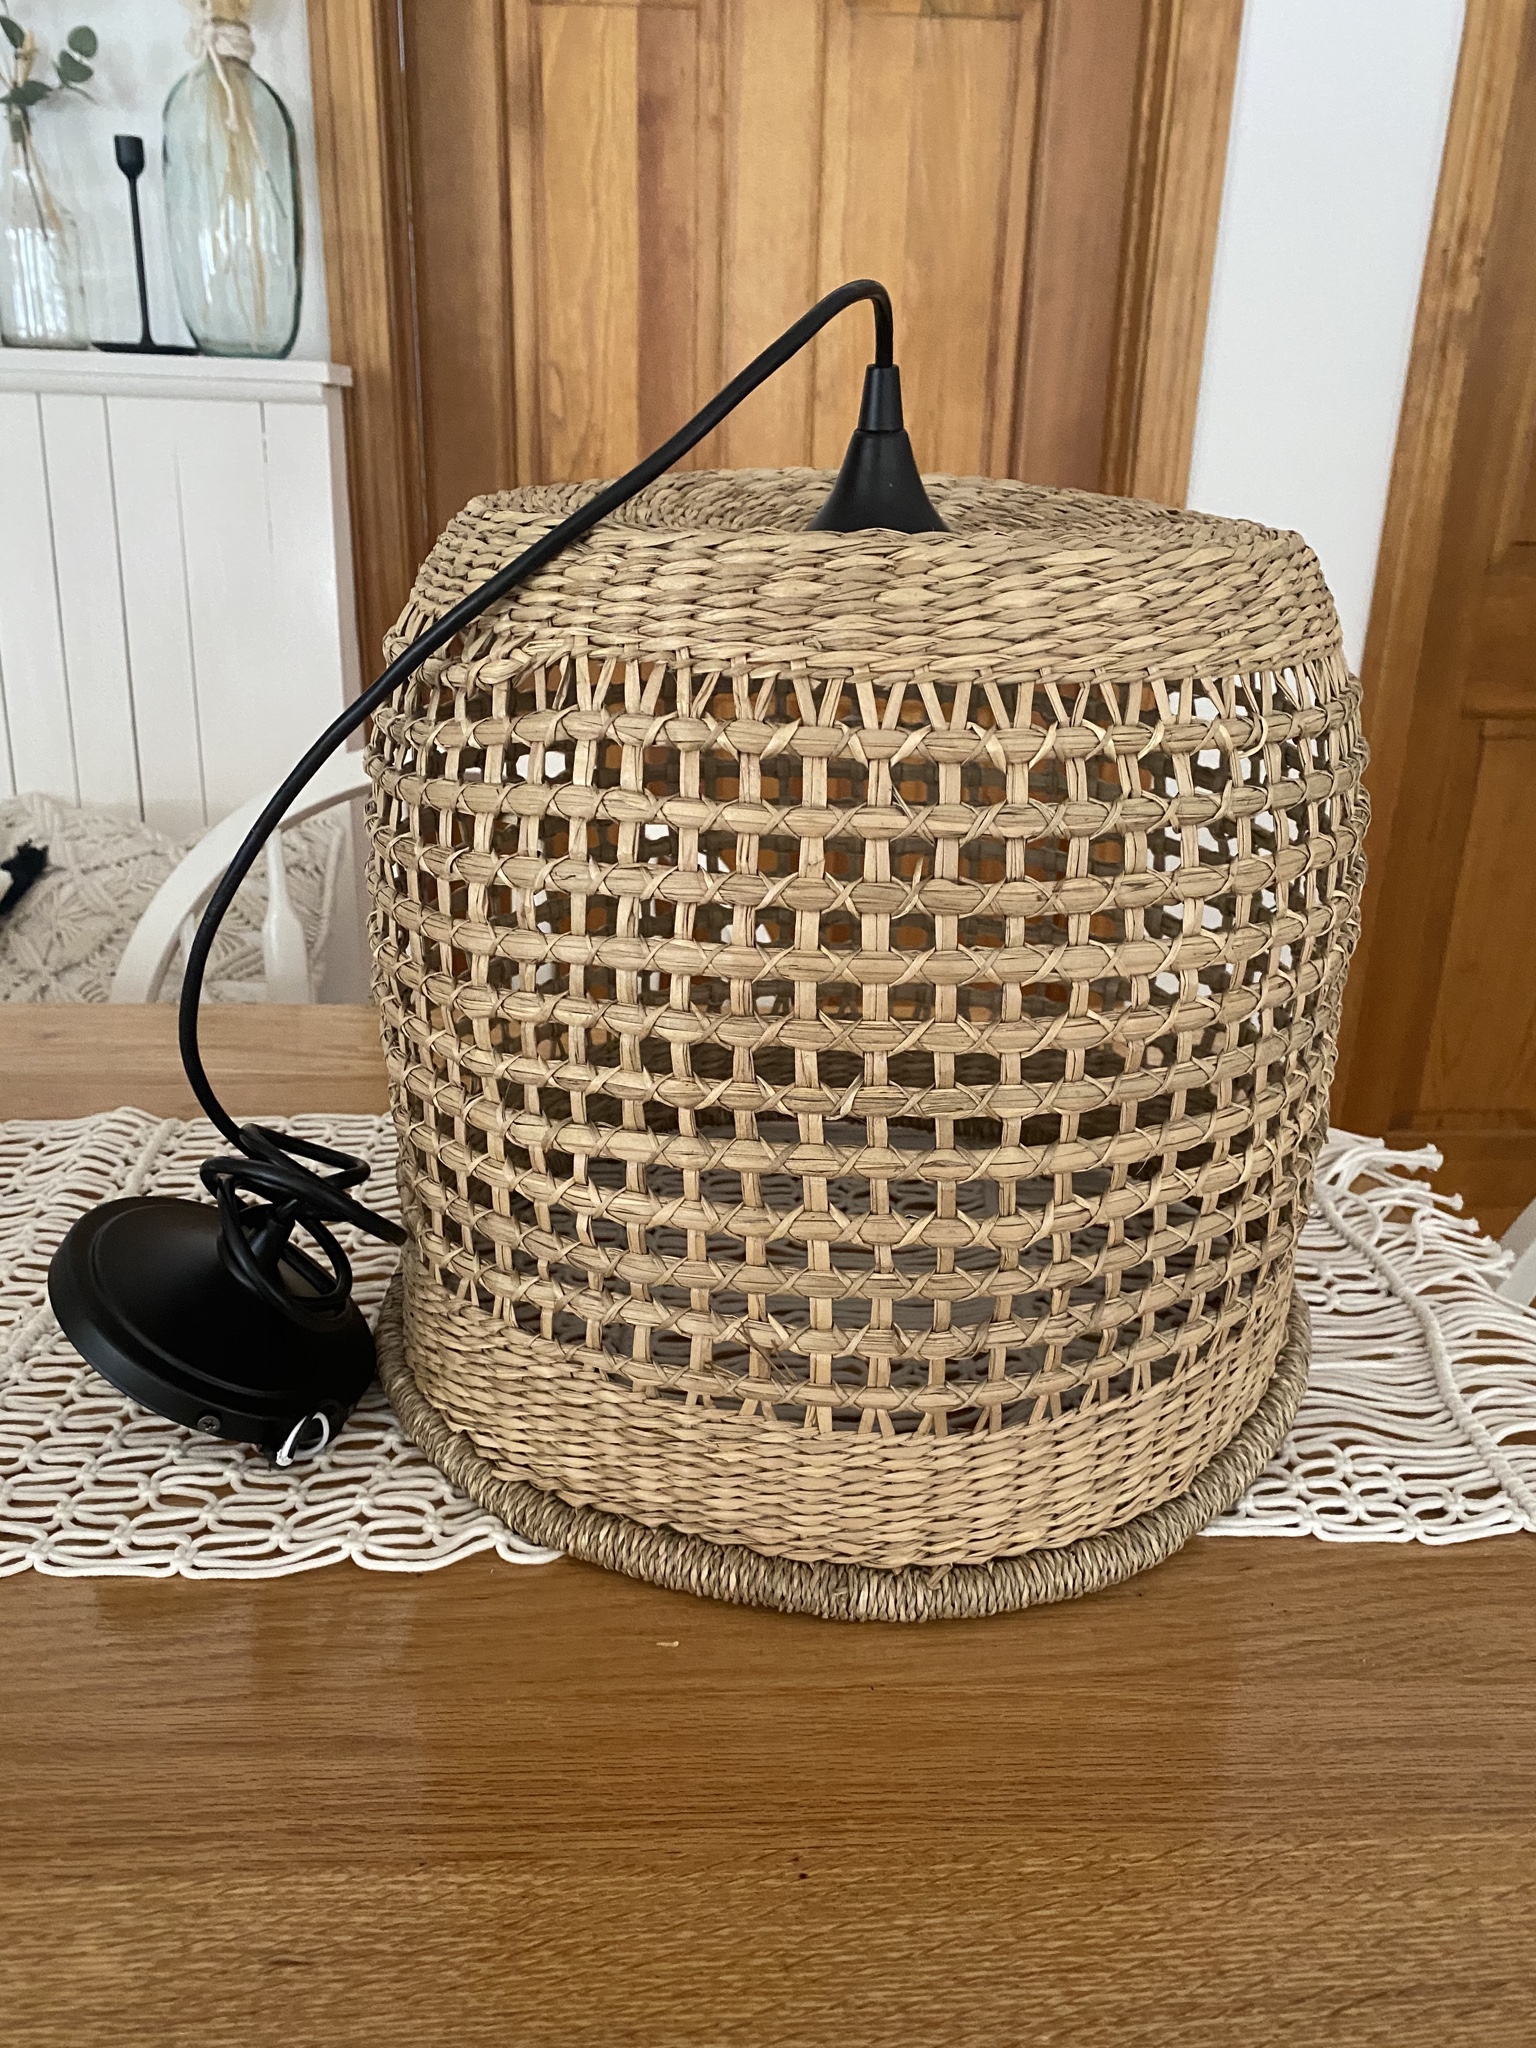
9- Light fixture— I did a basket light hack for the rattan chandelier for hen office. I used a basket that had a rounded shape from target. I searched for a basket that didn’t have a square bottom or firm 90 degree angle so that I could hang it upside down and put the pendant light sting in it.
10- DIY BUTCHER BLOCK- I love love anythjng and everything butcher block. Matt found a way to make it cheaper than buying a countertop butcher block slab- which they do have at Lowe’s but we were trying for the smallest budget. So he took each 2×4 and on the table saw he ripped off about 0.25 (1/4th) inch off each side (to cut off the rounded edge). So each board ended up being a little less than 3 inches wide. He then took two and used wood glue to attach them. He used clamps on each end to press them together. He did sets of 2 and then when they were dry he clamped the sets together overall gluing all 8 together.
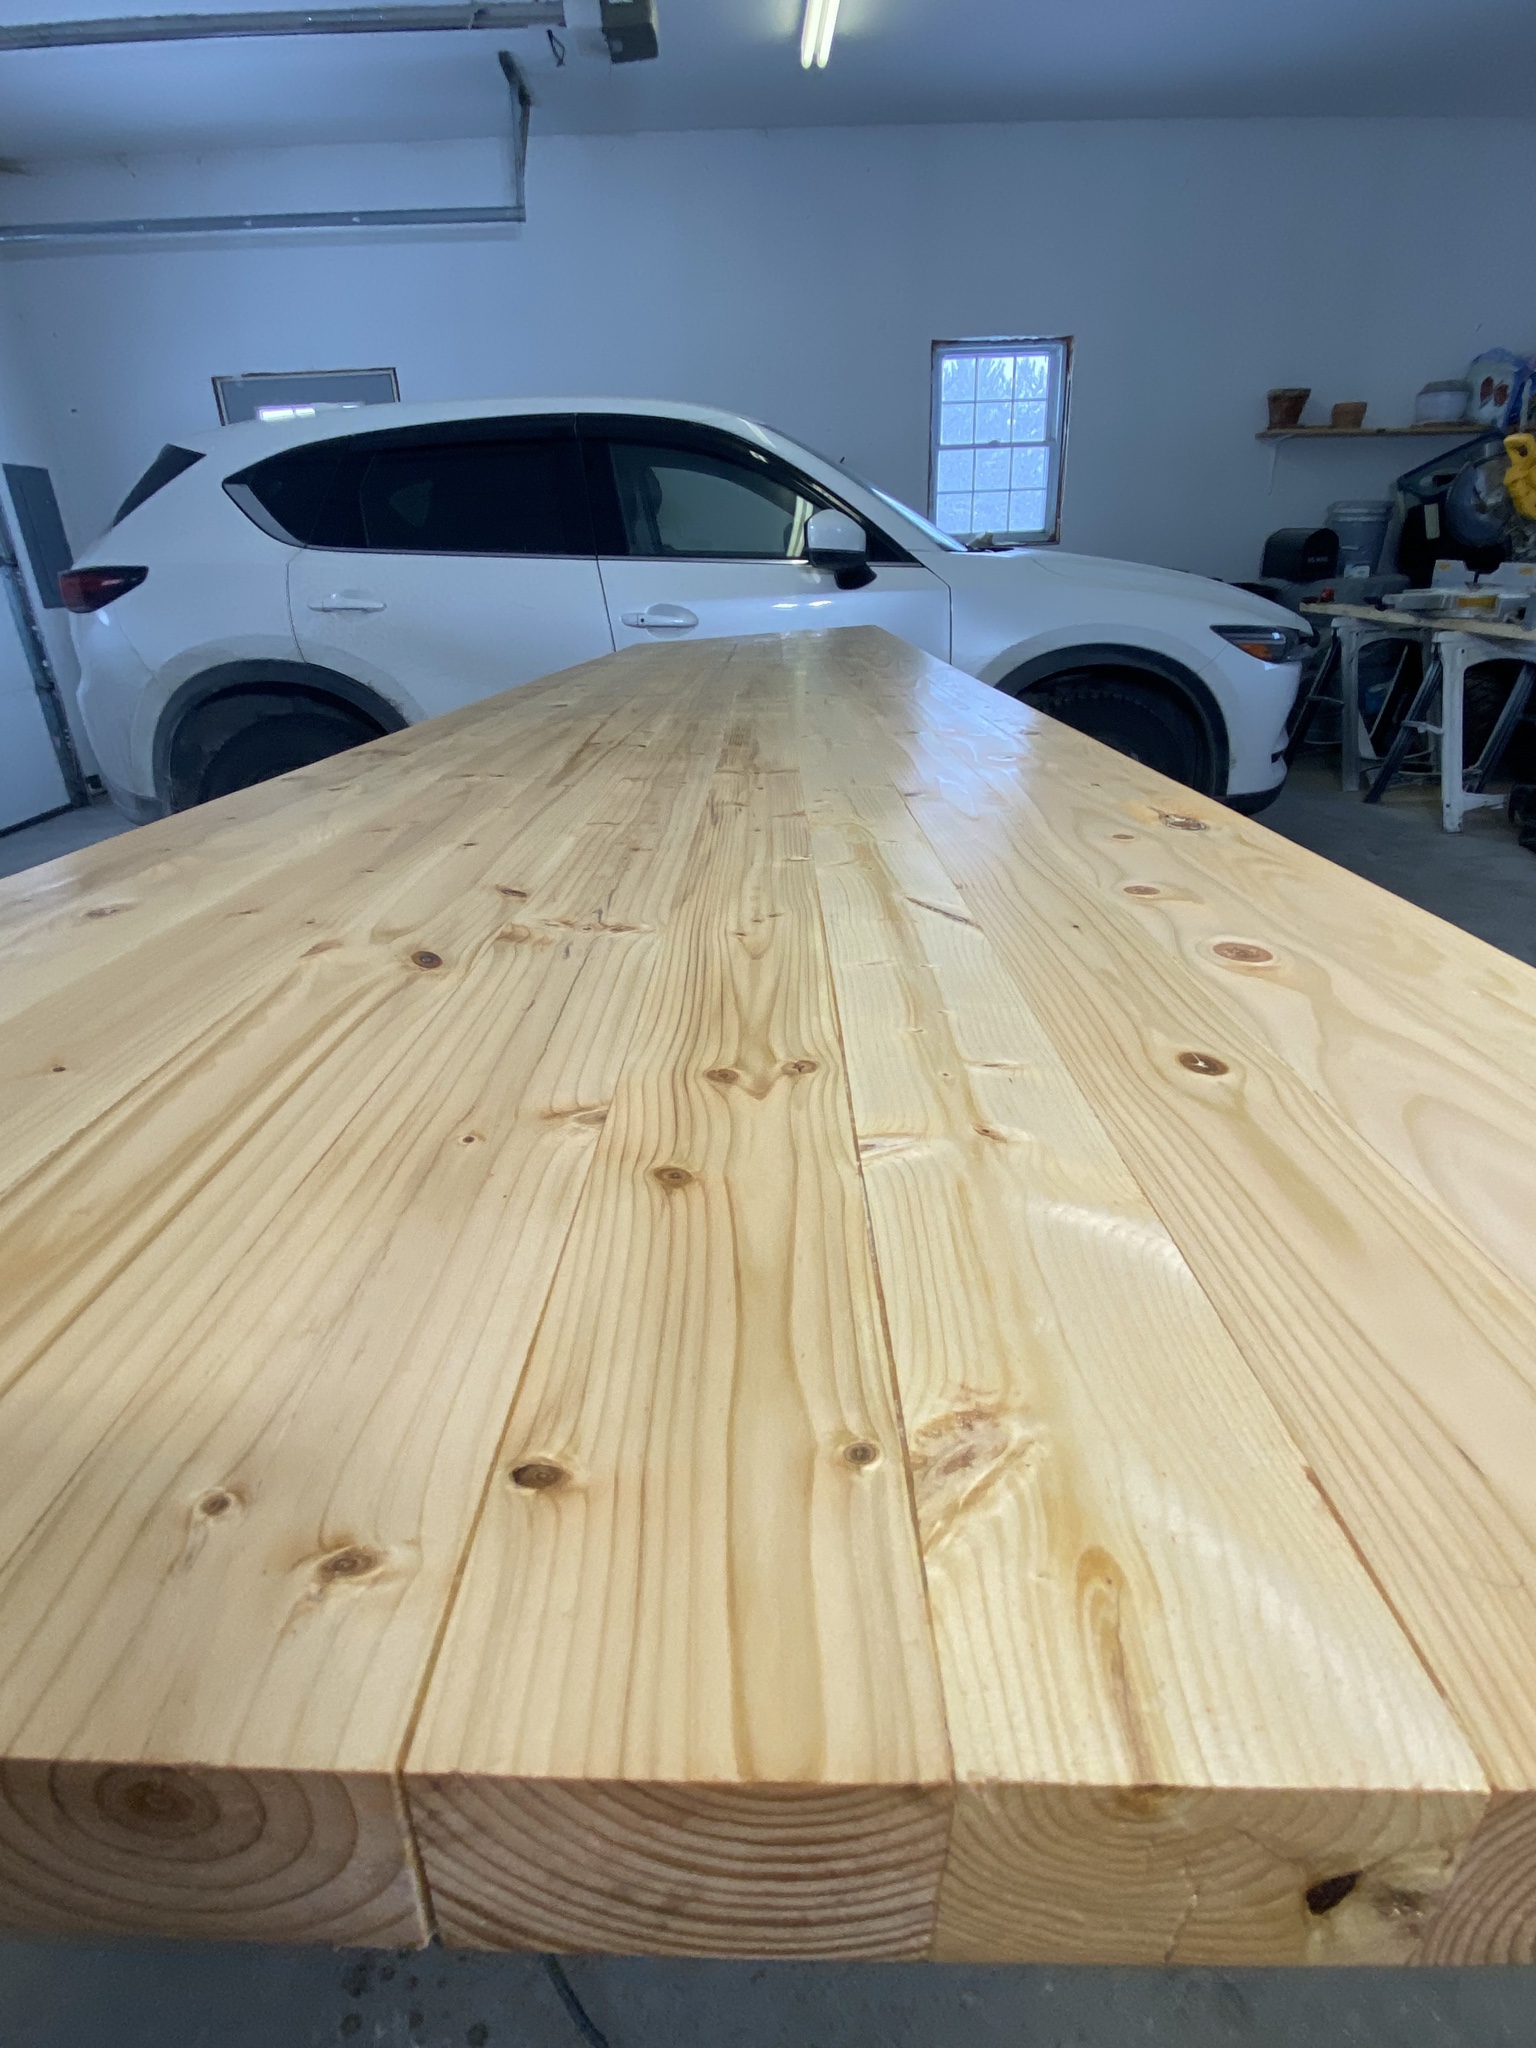
11-Once that was finished and dry he and I both sanded them down for a smoother surface.
12 – We then filled the cracks and holes with blonde minwax woody putty. Let that dry and sanded again with finer sandpaper.
13 – I used two different stains (my fav combo!! )
First I use minwax Ipswich Pine and then wipe/ smudge off with paper towel. Next before is dries I add minwax natural stain and then wipe off.
14- once again is dry I used Minwax oil based glossy polyurethane. I did three coats and lightly sanded in between each coat!!
The oil based took a bit to dry and set. So we waited a full 24 hours to bring it in the house, and then another 12 before I put anything on top of it. I have wised both water based and oil based polyurethane and the oil is by far smoother and a better finish. I will be using that from now on.
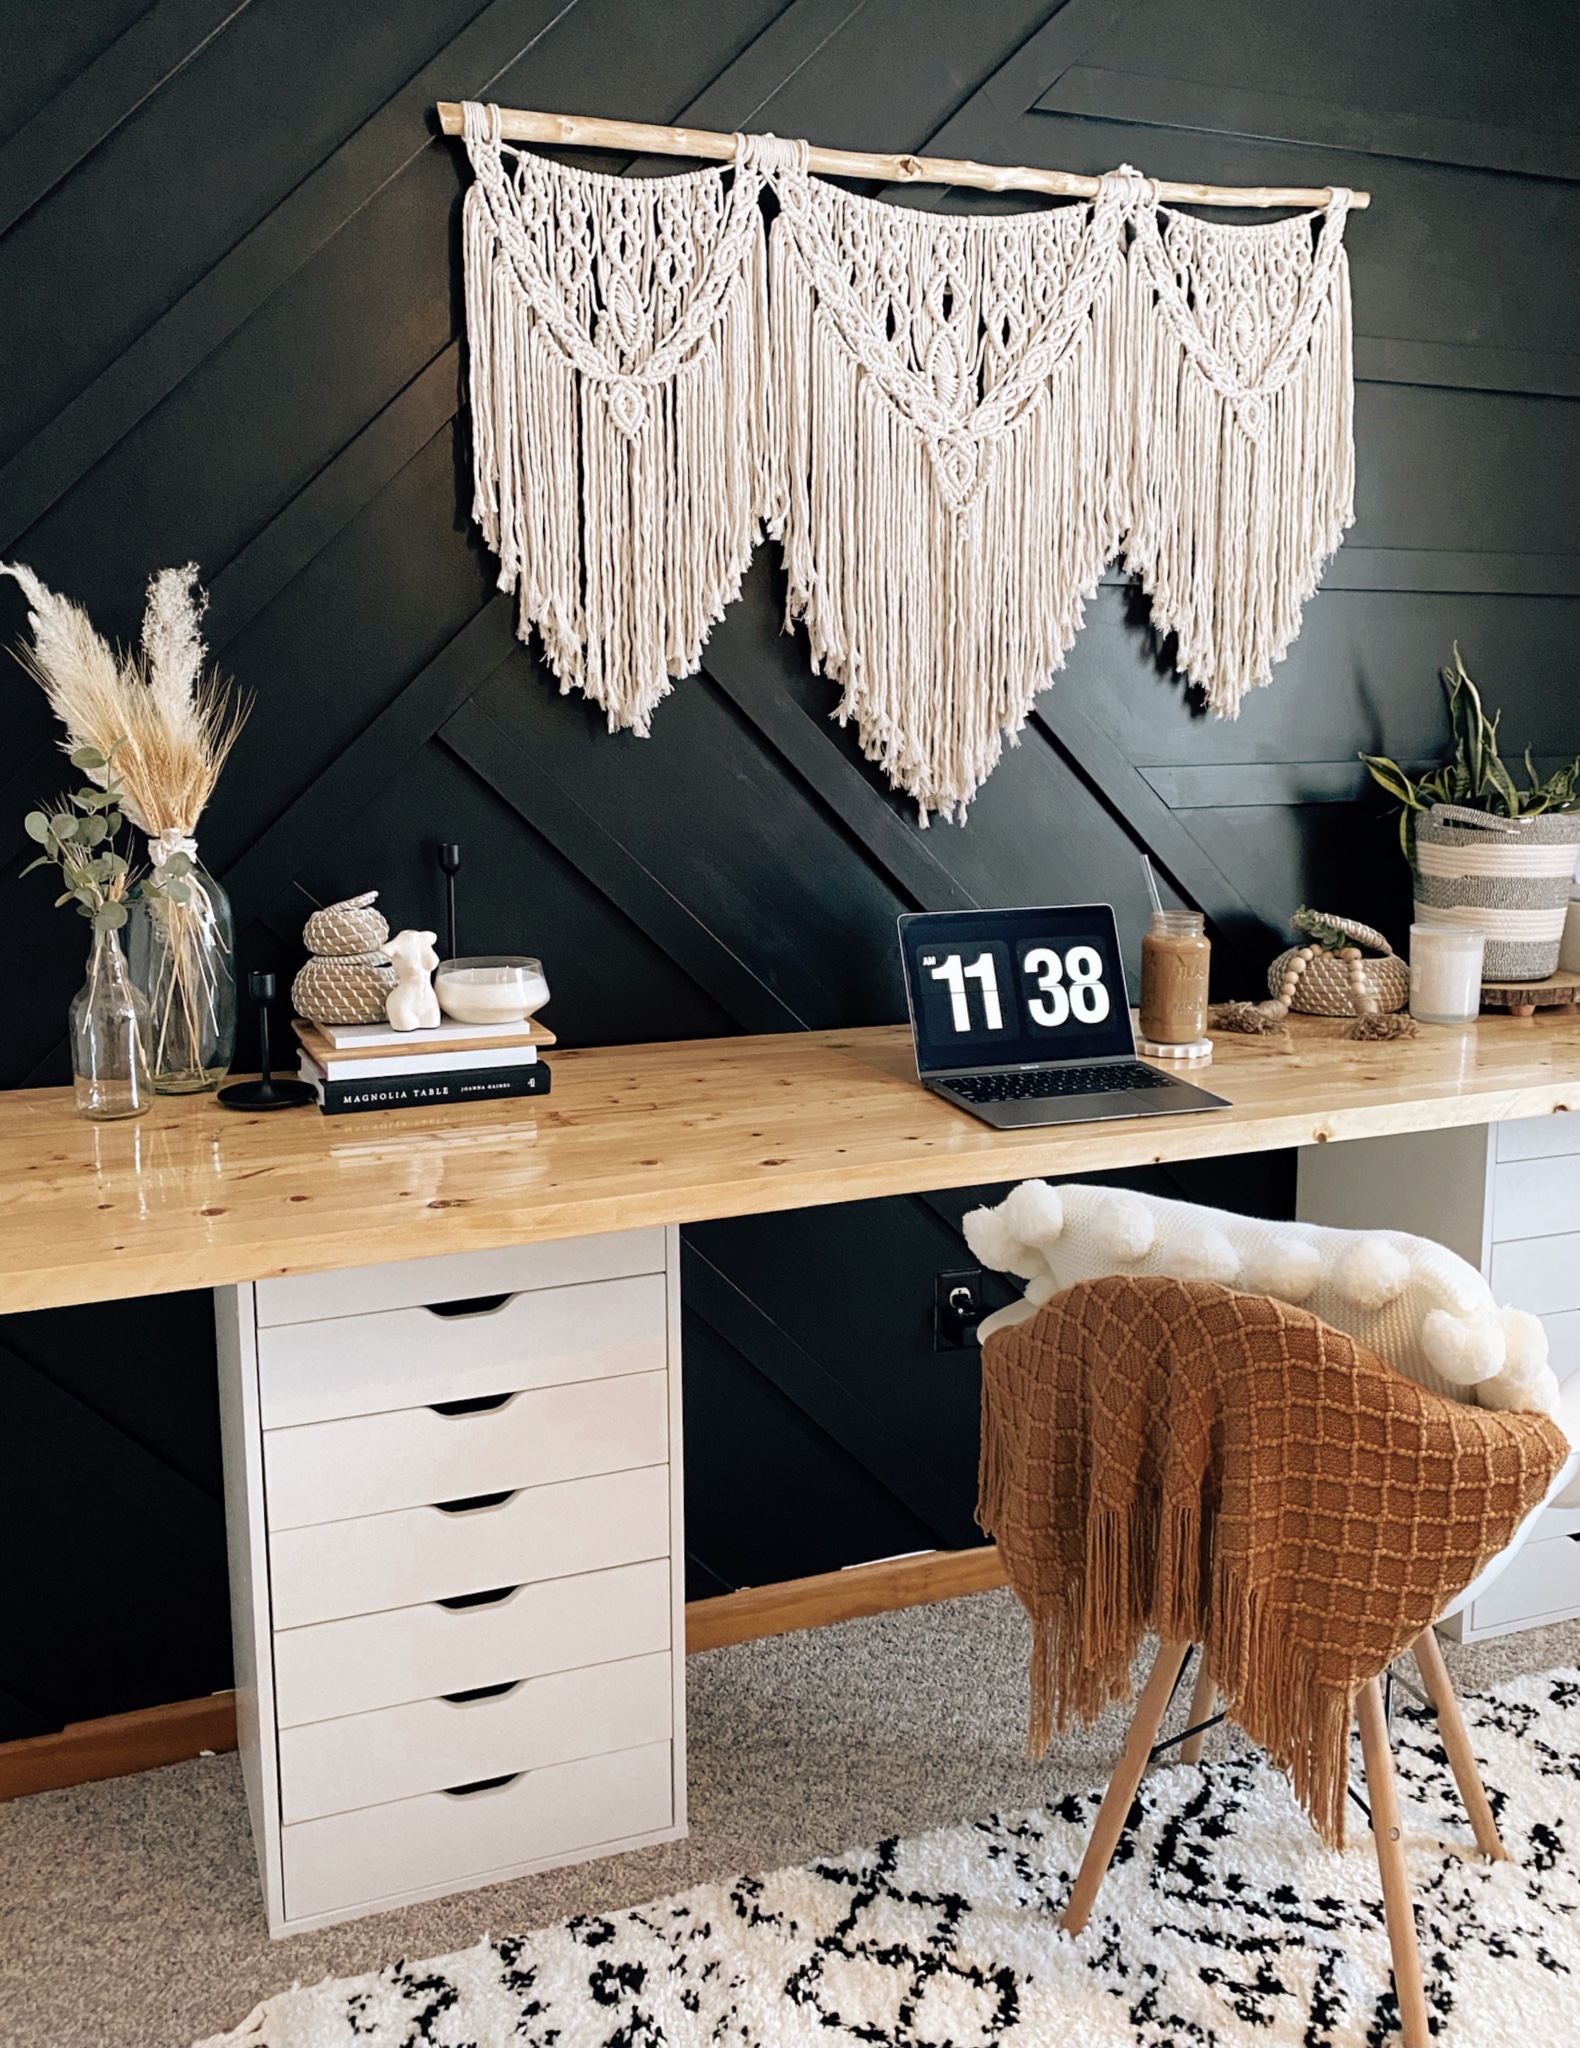
Finishing touches!!
15- I put together the two furniture draw sets. Then we placed the desk top on it. The rug came in, put the chair together. Hung the gallery wall, I decorated and hung the light fixture. Finally we hung the beautiful macrame wall hanging for the finishing touch & then I posted the reveal!!! Here are some pictures!! 😍😍
Who doesn’t love an amazing before & after— 😍🌿💓

Cost breakdown for office—
$95 =Mdf boards (Lowe’s) 6.29 x15=
$85 =2x4x10 for desk top- = $10.58×8
$218 = 2 ikea dupe draw sets 2x $109 =
$230 = Macramix tapestry (I bought for my wedding but hung here) =
$70 mis century modern chair
$25 burnt orange blanket
$55= gallery wall-12×12 with 9 frames
$20= target basket (for light fixture)
$15= pendant light appliance for light fixture
$100- Wayfair cosmo Collab rug
SW Paint- already had
__________________________________
Total= $925
All pieces of furniture will be used and moved to any room in the house!! The room can easily be made back into a guest bedroom, nursery, or anything we could need the the future. The color can be changed easily, the room can and will take on many forms in the coming years- but for now it is such an incredible room that gives me the best vibes of any room. 😍🌿💓
Thanks so much for reading & supporting me!! Leave me a like if you can!
Xoxo Lauren
