Hello!! Welcome back!! It’s been a while, but let’s chat about leveling tile counters!! I used concrete to get rid of the tile grout lines in my counter that caught all the dirt, coffee and other crap your counters see, on the daily!
Supplies—
– 2 x FastSet Self- Leveling Floor Resurfacer from @quickcrete (50 lbs)
– 1 x FastSet All Crete (20lbs)
– 1x Quickcrete concrete bonding adhesive (1 gallon)

I wasn’t planning to keep the concrete color, dark grey wasn’t in my kitchen plans for the counter—I was deciding between doing another round of contact paper (cheaper option) and if it doesn’t work again (rips/cuts/peels) then I will do epoxy! Again, all fo these are temporary—so we can save up money for a kitchen reno in the next 5ish years.
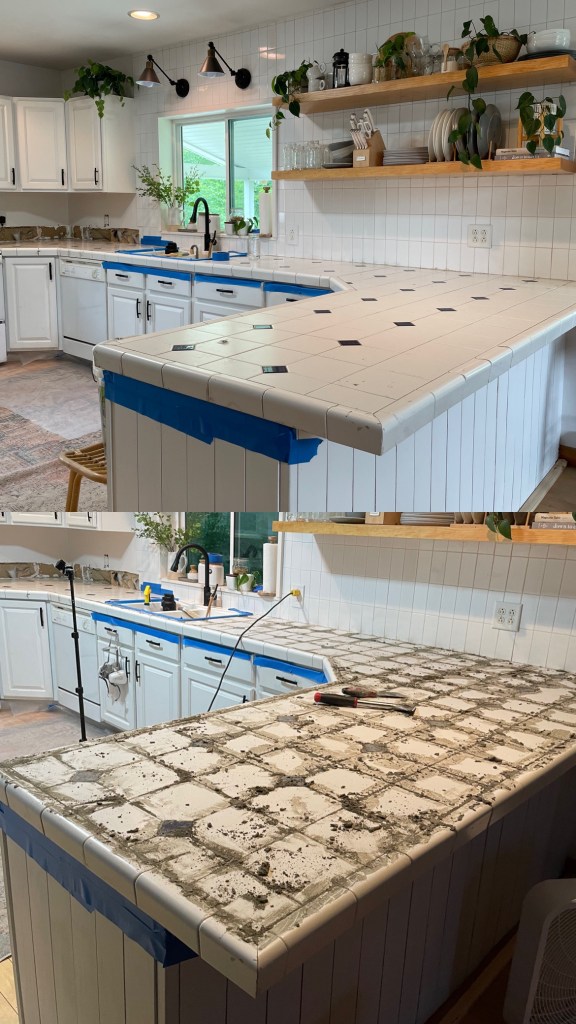
1- I cleaned, scrubbed the grout lines
2- Used the fast set allcrete- mixed with water and used spatula to apply in a thick paste to the grout lines—waited for it to dry about 20 minutes and then scratched the concrete off the tile so it was only in the grout.
3- Used concrete bonding primer- poured it into a paint roller try and used a 3 inch brush to apply it to the entire surface- concrete and tile. It is an Elmer’s glue consistency and color—it paints on really well and I did it pretty thick—not thin!
4- Waited about 24 hours for that to dry, which isn’t necessary just what I had time for
5- Next was mixing the self-leveling floor concrete! I recruited my husband to help me mix and pour—mixing was an interesting process! You should only add a little water at a time! But adding a couple cups of concrete and a little water, mix and then slowly add in both till you get a good amount to work with- we tried for almost halfway up the 5 gallon bucket—at a time- this was a good amount of us to work with.
6- The first part (left of stove) we did not get as watery as we needed— was too thick, it needed me to move it around and help level with a trowel. The next spot (to the right of stove all the way to the sink) we got the perfect consistency—watery to the point of thin smoothie—it poured on well, spread really well and dried super even.
7- Then I needed another bucket to finished the corner and L/Island (as a call it even though its not) – went to lower to get another bucket
8- Mixed the rest in a watery consistency again and it went on well! I had overlapped two different layers (first I poured before my trip to lowes and then the new concrete 1.5 hours later) and there was a slight different just as they dried at different times, but it sanded off really well.
9- Waited 3 days for lit to fully dry!!
10- Sanded using my dewalt circular sander, used 120 grit sandpaper to sand out bumps and drips that dried, inconsistencies in levelness , clumps we didn’t mix out (one bucket dump in particular had lots of clumps ;p) – I used 3-4 different sand pads because the concrete is really hard so it tore up the paper quick.
11- Concrete creates a lot of dust!! Especially since it was in the house, not garage I hooked my sander to my shop vac (after a couple minutes =— very dirty in my house) ! most sanders have the attachment to hook to almost any shop vac! It is so so helpful

12- Next I cleaned the counter really well with water! It wipes up ok, not a super smooth surface but level and amazing!! So much better than before
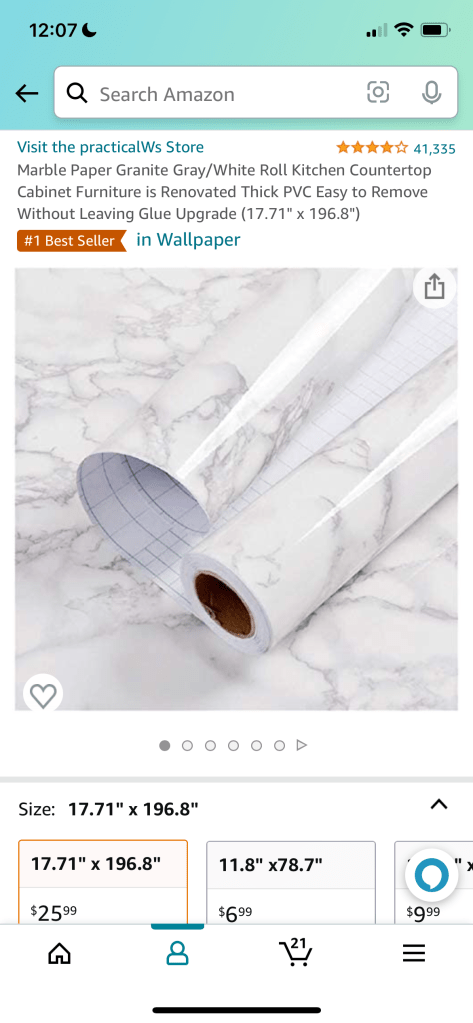
13- Next up is contact paper!!! I bought a thick option on amazon! Waterproof, durable, shiny (gloss finish) – it is really great. Much better and higher quality than my last option (which stayed on counter for 1.5 years! Even with all the rips and cuts from tile grout liens it still looked good. I have high hopes for this paper!!! Ill link it at bottom for sure.
14- I again asked Matt for help! Contact paper with one person is almost impossible! Two people is very helpful/ almost necessary!! Especially on a large scale like the large surface area of the entire counter.
15- I bought a little application tool pack (smoother thing and exacto knife) that helped a lot with application.
16- First I dry fitted the first piece, and then we slowly removed the paper, I smoothed out all bubbles and adhered it to the counter while matt slowly pulled the paper off the back- he also was kind of pulling to keep it all centered, we kind of used the laser level to keep checking we were outing it on straight, as last time some of the pieces went on diagonal—we learned a lot from last time and our application process was much better. Last time matt only made it one long panel and quit, but this time he made it all the way to the riht of the sink!! Lol